top of page


Callback Films - Callie Che's A2 Media Evaluation


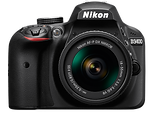
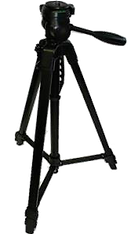
Camera and Tripod
In the construction stage, I used a camera and tripod to film my production. For most of my production, I used a DSLR camera which allowed me to film at high quality. I also filmed certain scenes such as the panning shots of the landscape with an iPhone since this was more mobile and easier to transport around London. I used a tripod with the camera to steady my shots, this allowed me to film smoother panning shots and stabilise any other shots.
Adobe Premiere Pro
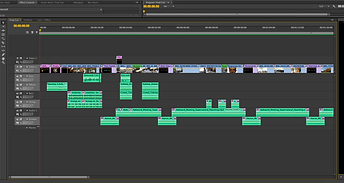
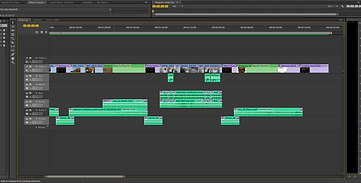
To put together my production, I used Adobe Premiere Pro as my main editing software. Premiere Pro is an easy to use software due to its simplistic layout and easy accessibility. This software allows me to cut, move, and edit clips using its many features and tools. One of the features I mainly used throughout my editing was the various transitions which I used to create certain effects. For example, I used 'fade to black' transitions to change to and from text screens. I also largely utilised the 'crossfade' transition which created a smooth effect that allowed me to easily connect scenes. Another feature I made use of was the sound waves on both audio and video clips. By using the sound waves, I found it easier to match the audio to the video. I was also able to better adjust and edit my soundtrack and add effects.
Adobe After Effects
How did you use media technologies in the construction stage?
For my title, credits, and special effects, I used Adobe After Effects which allowed me to create more effects and edit in more detail. For my title, I animated a still image by magnifying the image and creating a path which the image followed. Another layer contained the text which varied in opacity and size over time. I also created special effects for the protagonist's glowing eyes. Using an extreme close up shot, I used the pen tool to create two masks around each eye, one around the pupil and one around the iris. I tracked the masks to the movement of the eyes using the automatic 'track motion' option. I then filled the area between the masks with an orange tint then faded the opacity at the start and end of the clip.
Adobe Photoshop
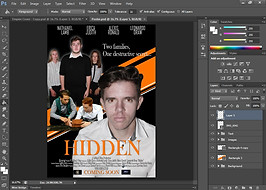
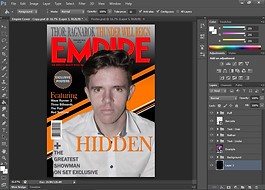
I mainly used Adobe Photoshop for my magazine cover and poster ancillaries. Using Photoshop, I can easily edit multiple images and add conventions. For my magazine cover, I used an image of my protagonist. Using the 'quick selection tool' I selected him then inverted the selection to remove the background. I then used various tools such as the 'rectangle tool', 'paint bucket tool', and 'gradient tool' to design the background on a separate layer underneath my initial image. On multiple layers above my image, I added text which followed conventions of magazine covers to create a realistic ancillary. I was also able to use Photoshop to change the brightness and contrast of my image and add the glowing eyes. I used a similar process to create my poster, I also used the same background to keep my ancillaries consistent and to link them together.
GarageBand
For my soundtrack, I used GarageBand to find loops which I then edited in length and repieced together to form a new soundtrack. This allowed me to use multiple instruments in my soundtrack which matched my audience's expectations and created a more intriguing track.
Soundtrack - Callback Films
00:00 / 00:00
bottom of page